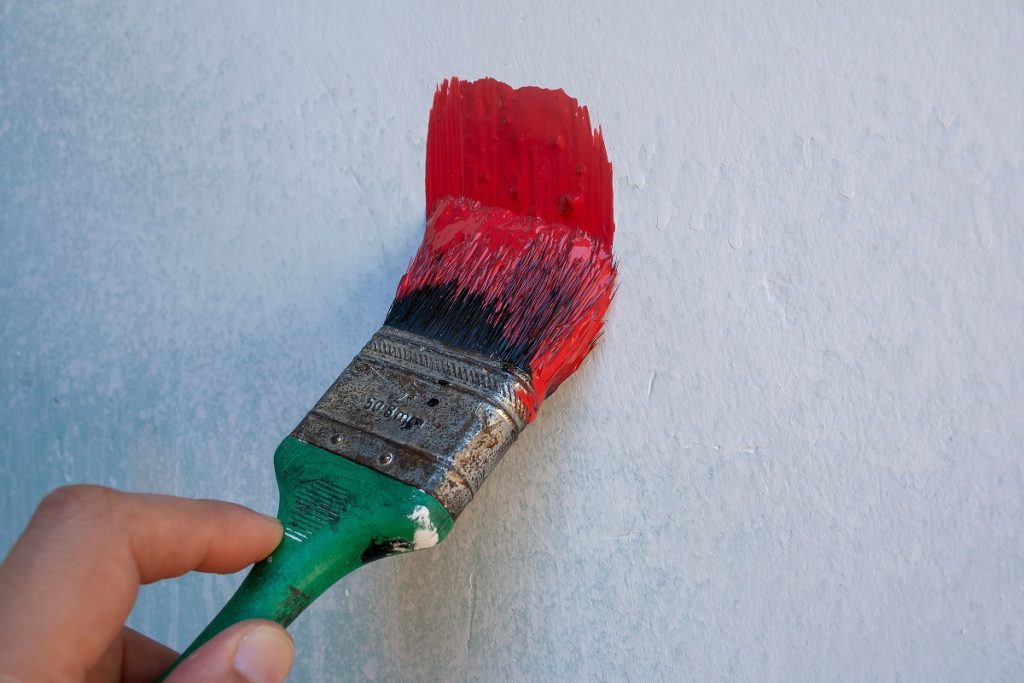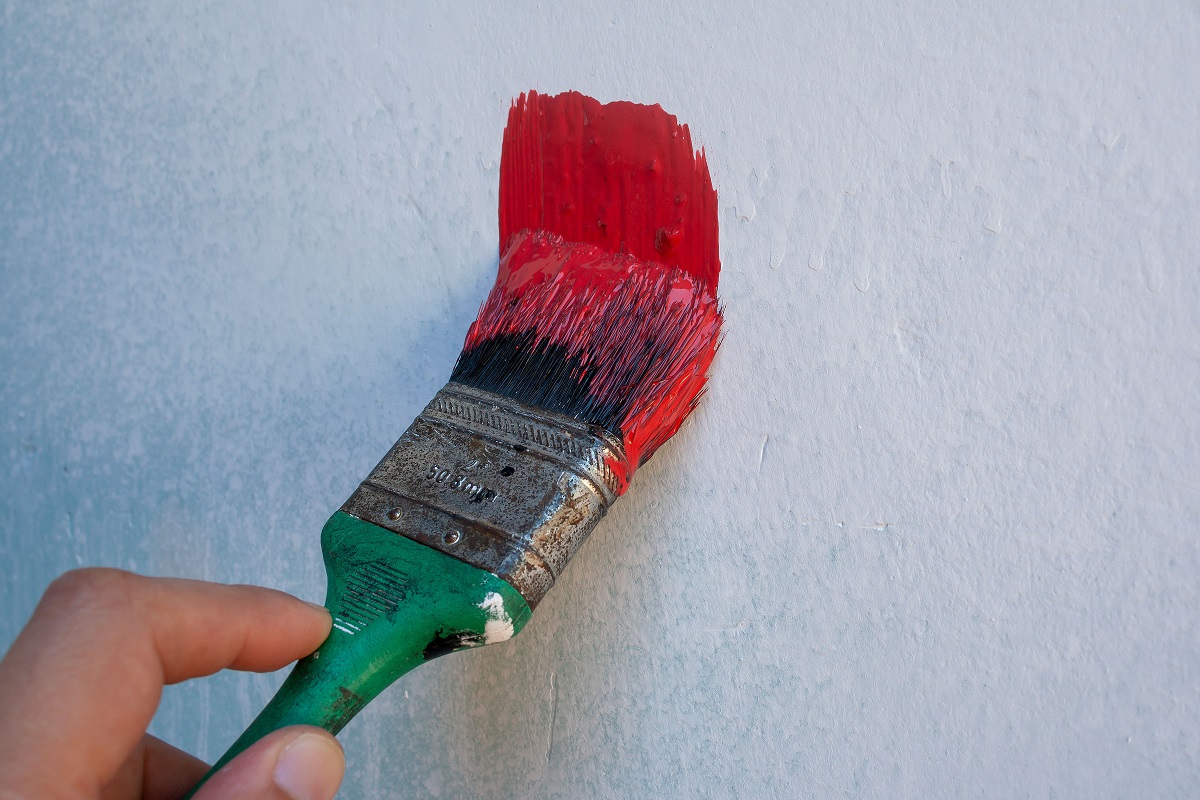
Highlights:
-
Wall paint and craft acrylics are engineered differently: While both use water-based acrylic resins, architectural wall paint contains special fillers, flow enhancers, and flexible binders designed for large vertical surfaces, whereas craft paint is formulated for smaller surfaces like canvas, paper, or wood.
-
Craft paint is far more expensive per square foot: Even though small bottles of craft paint appear cheap upfront, their low coverage and thin pigments mean painting an entire room requires dozens of bottles—making standard wall paint significantly cheaper for large areas.
-
Proper surface preparation is mandatory: Craft acrylics will peel off glossy surfaces or untreated drywall unless you sand the area, clean away dust, and apply an appropriate primer beforehand.
-
Acrylic works best for small-scale projects: Tubes and bottles of acrylic paint are ideal for mural artwork, decorative stencils, minor scuff touch-ups, or custom faux finishes rather than full room coats.
-
A protective topcoat is essential for durability: Unsealed acrylic paint can absorb moisture, attract dirt, and wear away during routine cleaning, so applying a clear varnish or sealer is crucial to safeguard your finished work.
Standing in front of a half-painted bedroom wall with an empty can of wall paint is a feeling every DIY enthusiast dreads. As you look around your home for a quick fix, your eyes might land on a stash of craft supplies sitting in the closet. You have tubes of heavy-body acrylics, small bottles of multi-surface craft paint, or even leftover acrylic liquid pigments from a previous art project. An obvious question comes to mind: can you just use acrylic paint on your walls to save a quick trip to the hardware store and keep a few extra dollars in your pocket?
The short answer is yes, you technically can use acrylic paint on drywalls, plaster, and existing painted surfaces. After all, modern interior wall paint is essentially a water-based acrylic or vinyl-acrylic emulsion formulation. However, using small-format craft or artist acrylics instead of standard architectural interior paint comes with a major set of caveats, financial surprises, and functional drawbacks that you need to know before dipping your brush into that tiny bottle.
Whether you want to patch up a tiny scuff mark, paint a custom decorative mural, or cover an entire accent wall on a shoestring budget, this guide breaks down everything you can expect when using acrylic paint on interior walls.
Understanding the Difference Between Wall Paint and Craft Acrylics

To understand how acrylic paint behaves on drywall, it helps to look under the hood at how paint is made. At its core, every bottle or can of liquid paint consists of four basic components: pigments for color, binders to hold everything together, solvents to keep the mixture liquid until applied, and additives for mildew resistance, quick drying, or smooth flow.
While artist acrylics and standard gallon wall paints share the same basic binder technology—specifically acrylic resin polymers suspended in water—they are engineered for radically different physical applications and surfaces.
Pigment Density and Concentration
Artist-grade acrylic paints use heavy concentrations of finely ground natural or synthetic pigments designed to resist fading under light exposure for decades. Wall paints use a blend of pigments along with lower-cost extenders like calcium carbonate, clay, or talc to provide opaque coverage over massive square footage.
Viscosity and Flow
Bottled craft acrylics and tube paints are formulated for canvas, wood, or paper. They are often thick, heavy-bodied, or buttery. Interior wall paint is formulated with specific rheology modifiers so it flows easily off a roller without splattering, self-levels to hide brush marks, and adheres smoothly across large vertical panels.
Sheen and Surface Finish
Architectural wall paints come in clearly standardized finishes like flat, eggshell, satin, semi-gloss, and high-gloss. Craft acrylics often dry to either an unpredictable matte or a plastic-like shine that can easily clash with the existing sheen on your walls.
Film Flexibility and Washability
Wall paints are blended with flexible resins designed to handle humidity shifts, house settling, scrubbing with sponges, and everyday wear and tear. Pure craft acrylics form a tight rubbery plastic coat when cured, which can become brittle over large drywall surfaces or remain slightly tacky in high-humidity spaces like bathrooms and kitchens.
The Financial Math: Is Acrylic Paint Actually Cheaper?
The main motivation behind substituting standard drywall paint with craft or artist acrylics is saving cash. When you compare a tiny $2 bottle of craft paint to a $45 gallon of premium interior house paint, the craft paint feels like an absolute steal. However, looking at the unit price per liquid volume reveals a completely different picture.
Standard interior latex or acrylic wall paint covers roughly 350 to 400 square feet per gallon with a single coat. One gallon contains 128 fluid ounces. That means a single ounce of house paint covers around three square feet of surface area.
Now consider a standard 2-ounce bottle of craft acrylic paint. Even if you stretch it to its absolute limit, that single bottle will barely cover 4 to 6 square feet with one thin coat. Because craft paint lacks the opaque extenders found in house paint, you will likely need three or four coats to achieve solid, streak-free opacity over raw drywall or darker base colors.
To cover an average bedroom wall measuring 10 feet by 12 feet (120 square feet) with two coats of paint, you would need enough paint to cover 240 square feet.
-
Standard Wall Paint: You can purchase a single quart for roughly $15 to $20, or a full gallon for $30 to $50, leaving you with plenty of extra paint for future touch-ups.
-
Craft Acrylic Paint: You would need anywhere from 40 to 60 two-ounce bottles of craft paint. At $1.50 to $2.00 per bottle, your total material cost jumps to $60–$120, not including the extra time, effort, and brush wear required to apply it.
When you are looking for smart strategies for saving money on home maintenance and upgrades, evaluating the true cost-per-square-foot of your materials is essential. While craft acrylics make financial sense for micro touch-ups or small decorative stencils where you already own the materials, buying craft paint specifically to paint large wall surfaces will almost always cost significantly more than purchasing traditional house paint.
How Acrylic Paint Behaves on Interior Drywall
If you decide to move forward with using acrylic paint on your walls, knowing how it behaves on vertical drywall surfaces will help you avoid frustrating surprises during application.
Coverage and Streaking
Craft acrylics are notoriously transparent compared to architectural coatings. When applied with a standard brush or roller, the paint tends to streak, leaving visible lap marks where strokes overlap. Achieving a solid, uniform coat requires multiple thin layers, patience, and meticulous brush handling.
Drying vs. Curing Time
Acrylic paints dry remarkably fast on porous drywall surfaces—often dry to the touch in under 20 minutes. However, dry to the touch is not the same as fully cured. Acrylic resins can take anywhere from 7 to 14 days to fully polymerize and cure. During this curing window, the paint film remains susceptible to scratching, peeling, and moisture damage.
Adhesion and Peeling
If you apply raw craft acrylic paint directly over an existing wall that has a glossy or oil-based finish, the new paint will struggle to bite into the surface. Without proper mechanical sanding or priming, craft acrylic forms a superficial film over the wall that can easily peel off like plastic wrap if scraped by furniture or bumped by vacuum cleaners.
Texture and Cleanability
Once dry, pure acrylic paint can feel slightly rubbery or plastic-like. Unlike washable satin or eggshell wall paints that are engineered to endure soapy water and scrub pads, unsealed craft acrylic can bleed, smudge, or wear away when wiped down with damp cloths.
Best Scenarios for Using Acrylic Paint on Walls
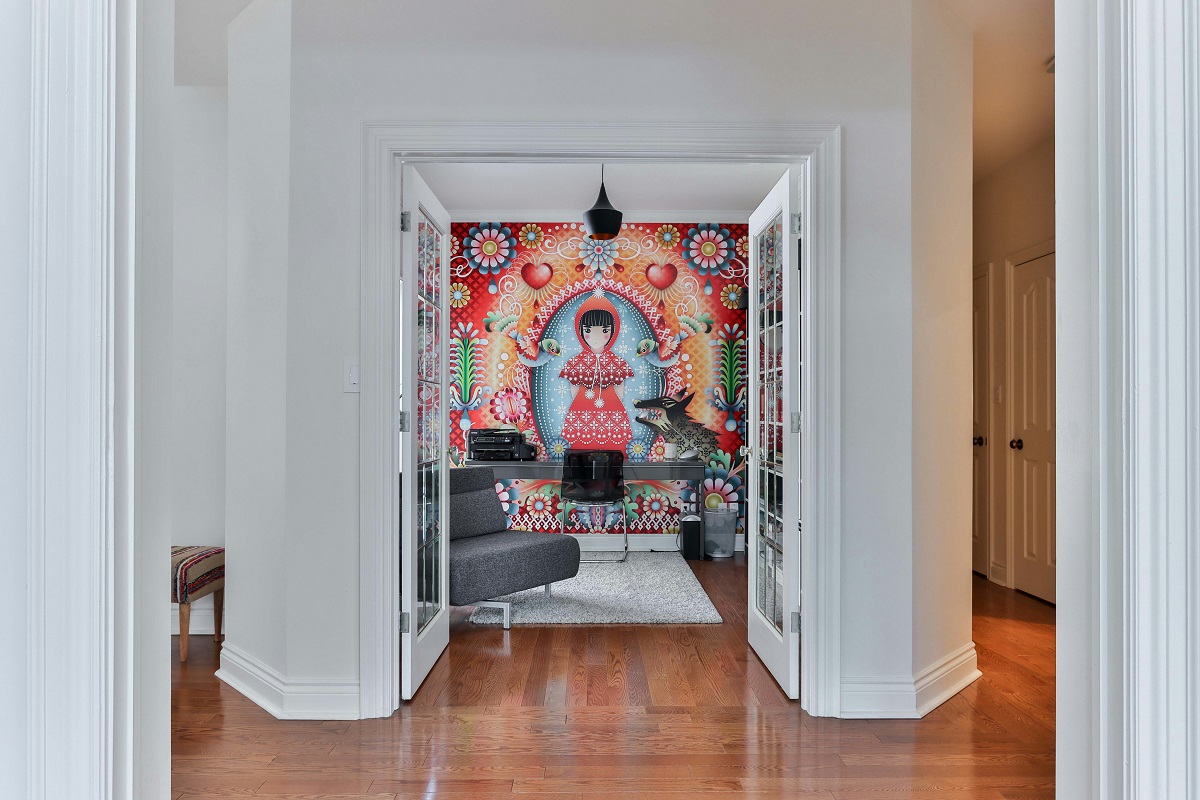
Despite the challenges of painting entire rooms with craft paint, there are several home improvement scenarios where using acrylic paint on walls is practical, cost-effective, and aesthetically pleasing.
-
Accent Murals and Freehand Artwork: If you are painting a floral design, a geometric pattern, or a custom landscape mural on a nursery or living room wall, tubes or jars of artist acrylics are ideal. They offer vibrant colors, excellent blendability, and long-term lightfastness.
-
Nail Hole Patching and Micro Touch-Ups: If you have small nail holes filled with spackle or tiny scuffs near baseboards, mixing artist acrylic pigments to match your wall color is a quick, free way to disguise spots without buying a whole gallon of matching paint.
-
Stenciling and Border Detailing: Stenciling decorative borders around doors, windows, or ceilings requires tiny amounts of paint. Acrylics dry quickly, minimizing the risk of paint bleeding under stencil edges.
-
Decorative Faux Finishes: Acrylic paints combine well with glazing mediums to create sponge effects, color washes, faux brick textures, or metallic distressing on focal walls.
-
Color Sample Testing: If you want to visualize a specific shade on your wall before committing to a full painting project, painting a small swatch with leftover craft acrylic gives you a general idea of how light interacts with that hue in your room.
Step-by-Step Guide to Applying Acrylic Paint on Walls
If you want your acrylic paint project to look smooth, durable, and professional, skipping preparation is not an option. Follow this process to ensure your acrylic paint adheres properly and lasts for years.
Step 1: Clean and Repair the Wall
Paint will not stick to dust, grease, or loose debris. Wipe down the entire wall surface using a sponge, warm water, and a mild detergent like dish soap or trisodium phosphate (TSP). Allow the surface to dry completely. Fill any nail holes, cracks, or dents with spackling compound, smooth it out with a putty knife, and let it cure.
Step 2: Sand the Surface
Lightly scuff-sand the wall using 120-grit to 220-grit sandpaper. This step is critical if your wall currently has a satin, semi-gloss, or high-gloss finish. Sanding creates microscopic scratches on the surface, giving the new acrylic paint something to grip onto. Wipe away all residual sanding dust with a damp microfiber cloth.
Step 3: Apply an Acrylic-Based Primer
Skipping primer is the primary reason craft acrylic paint peels off drywall. Apply a coat of quality water-based latex or acrylic primer across the entire area you plan to paint. Primer seals porous spackle patches, hides dark base colors, and provides an ideal surface for acrylic paint adhesion. Allow the primer to dry according to the manufacturer’s directions.
Step 4: Condition Your Acrylic Paint
If you are using thick, heavy-body acrylics from tubes, applying them directly to a wall can leave harsh, raised ridges and visible brush marks. Pour your acrylic paint into a tray or container and mix in a tiny amount of water or a specialized acrylic pouring medium/extender. Thinning the paint improves its flow, helps it self-level, and extends its workability time so you can blend colors smoothly.
Step 5: Apply Light, Even Coats
Dip a high-quality synthetic bristle brush or a dense high-density foam roller into your thinned acrylic paint. Work in small sections, applying thin, even coats using smooth strokes. Avoid loading too much paint on your brush at once, which causes drips and sagging. Allow each layer to dry completely before applying the next. Expect to apply at least two to three coats for full opacity.
Step 6: Seal the Surface with a Clear Topcoat
Because craft and artist acrylics lack the durable protective additives found in commercial wall paints, sealing your finished work is essential for long-term protection. Apply a coat of clear, water-based acrylic varnish, polyurethane, or polycrylic sealer over the painted surface. Choose a sheen (matte, satin, or gloss) that blends seamlessly with the surrounding wall. This protective topcoat guards your paint against moisture, fingerprints, dust, and UV fading while making the wall fully washable.
Common Mistakes to Avoid When Using Acrylic Paint on Walls
Even seasoned DIYers can run into trouble when working with non-traditional wall coatings. Keep these common mistakes in mind to protect your walls and save yourself unnecessary frustration:
-
Mixing Oil and Water-Based Paints: Never apply acrylic (water-based) paint directly over oil-based wall paint without sanding and applying a bonding primer first. Water-based paint cannot adhere to oily surfaces and will peel off as it dries.
-
Applying Paint Too Thickly: Trying to achieve single-coat coverage by slathering on thick layers of craft paint causes cracking, prolonged drying times, and uneven surface textures.
-
Neglecting Masking and Painter’s Tape: Acrylic paint adheres strongly once cured. If you bleed paint onto baseboards, trim, or adjacent walls, cleaning it up without damaging the underlying finish can be difficult. Use high-quality painter’s tape to lock in clean lines.
-
Failing to Mix Enough Paint Ahead of Time: Custom-blending craft paint shades for a large wall area makes exact color matching mid-project nearly impossible. Always mix more custom color than you think you will need and store the excess in an airtight container for future touch-ups.
Comparing Acrylic Finishes: Which One Should You Pick?
If you decide to use acrylics for wall art, accent designs, or localized repairs, selecting the correct finish ensures your work looks cohesive with the rest of the room.
| Finish Type | Visual Appearance | Scrubbability & Durability | Best Wall Applications |
| Matte / Flat | Zero shine, hides wall imperfections smoothly | Low; absorbs moisture and stains easily | Ceilings, low-traffic wall murals, temporary art |
| Satin / Eggshell | Subtle soft sheen, smooth elegant texture | Moderate to High; easy to clean with damp cloth | Bedrooms, living rooms, decorative stenciling |
| Semi-Gloss | Radiant reflection, crisp bright finish | High; resists moisture, grease, and heavy scrubbing | Kitchen accent art, bathroom detailing, trim work |
| High-Gloss | Mirror-like shine, high visual drama | Highest; extremely durable and stain-resistant | Modern focal panels, geometric stripes, doors |
Matching the sheen of your acrylic accent work to your room’s existing wall paint prevents awkward shiny spots or dull patches under ambient lighting.
The Long-Term Maintenance of Acrylic-Painted Walls
Once your acrylic paint project is complete and fully cured, maintaining its appearance requires gentle care compared to standard factory-formulated architectural finishes.
While high-grade interior wall paints are designed to withstand aggressive scrub pads and abrasive cleaning agents, craft acrylic films are softer. When dusting or cleaning an acrylic-painted wall surface, avoid harsh chemical sprays, bleach, ammonia, or abrasive scrubbing sponges, which can strip away clear sealers or dissolve delicate paint layers.
Instead, wipe down the surface gently using a soft microfiber cloth dipped in warm water mixed with a drop of mild dish soap. Pat the area dry immediately with a clean towel rather than letting water pool on the surface. If you ever need to touch up a damaged spot, lightly sand the affected area, apply a tiny spot of primer, layer your matching acrylic color, and reseal it with your clear topcoat.
The Final Verdict
Using acrylic paint on your walls can be a clever, budget-friendly solution under the right circumstances. If you are touching up tiny scuff marks, filling nail holes, stenciling a decorative accent border, or painting a creative wall mural using materials you already own, acrylic craft paint gets the job done without requiring a trip to the store.
However, if your goal is to repaint an entire room, a hallway, or a full accent wall to save money, using small bottles or tubes of acrylic craft paint is counterproductive. The high cost per liquid ounce, poor coverage, extended application time, and need for specialized sealers make craft acrylics significantly more expensive and labor-intensive than buying a standard gallon of interior latex wall paint.
By understanding how acrylic materials behave on drywall and applying proper priming, thinning, and sealing techniques, you can safely experiment with acrylic paint in your home and achieve vibrant, durable results that look great for years.